|
| This is the Lambton Yard area, where the railroad has expropriated a former leg of my workbench. I'm going to have to do something with that tool rack. It will give me a lot more yard space though. |
It’s been a long time since the last layout update but
despite this, I’ve managed to do a fair bit of work. Here’s a quick breakdown.
Layout extension
Hungry for more layout space, I’ve added about six feet to
the layout by placing it on top what was one leg of my L-shaped workbench. I
decided I’d be using the layout more than the workbench, plus I’ve got
sawhorses a Black and Decker Workmate and other options if I need more
workspace for projects. In order to make way for the extension, I placed some
2x4s on the former workbench, turned them on their ends and screwed them to the
plywood. Then I laid the foam over the 2x4 sleepers, glued that down and voila,
instant layout extension. The problem now is that the peg board holding the
tools will likely have to be moved to make way for a backdrop and to prevent
hammers, chisels, adjustable wrenches, etc. from raining down on my locos and
rolling stock.
Wiring
I followed NCE’s wiring recommendations: a 14-gauge buss under the layout and 18-gauge feeders to each (almost) each piece of
track. At first I used those suitcase connectors to attach the feeders to the
buss, but I found them too finicky to use. I’m pretty adept at soldering, so I
just stripped ½ of insulation off the buss, then about ¾ of insulation off the
feeder. Then I wrapped the feeder around the bare spot on the buss a few times,
soldered it and covered the connection with electrical tape. It’s hard to get a
better electrical connection than that. Over the yard, where I needed lots of
feeders in one area of the layout, I brought a feeder line from the buss to a
terminal block, then made little loops connecting the points so all screws on
the block were powered by the same circuit. Then if I needed to connect a
feeder in the area, I just ran it back to that terminal block. Cuts down on the
soldering a bit.
Many suggest running feeder to every piece of track. The thinking is that this way you’re not relying on rail joiners to carry power from one section of rail to the
other. I laid a bunch of track a long way from the nearest feeder and ran
trains, just to see if it would work (the nearest feeder was four feet and many
rail sections away) it ran no problem, I couldn’t make any of my locos stall
even at slow speeds. But I still followed best practices and added feeders to
most (though not every) piece of rail. The layout runs great, I’ve yet to have
a stall. Also I performed the “quarter test” on every track and the NCE
PowerCab short circuit detector shut down the layout each time, as it’s
supposed to do. When wiring, I always test as I go, running trains over the
spot after making every connection to ensure I’ve not wired a short,
which would become tough to pinpoint later on.
At first I had trouble, and was melting ties when attaching the
feeders to the rails but that improved when I switched to a 40-watt soldering
iron with very thin solder. I also place a piece of metal over the rails to act
as a heat sink, which helps keep the ties in a solid state.
 |
This is the subway that goes under the tracks at Runnymede Road.
|
 |
| Here's the prototype shot of the Runnymede Road subway. I still have plenty of work to do!. |
Track laying
I have great admiration for those who handlay their track,
and it’s something I may attempt one day. For now, I just want to get trains
running quickly so I’m using Atlas and Peco Code 100 track and turnouts, which
are widely available. I laid the track right on the lines sharpied onto the
foam. I found a few dabs of glue under the flextrack gives enough adhesion
while leaving open the possibility of pulling up and reusing the track down the
line. I’ve laid much of the track in the Lambton yard area and the spurs around
it. I’ve also started the extension that leads to the staging yard. I’ve not
yet laid the track around the peninsula (on the south end of the layout).
There are those who would take more time with all of these
steps while using more prototypical track, but I have very limited available modeling
time and I wanted to get trains running right away.
I’m enjoying picking up and setting off cars on my small
layout … even though the track is running over pink foam and there’s no
backdrop or buildings.
 |
Looking from Lamton Yard over toward the West wall of the basement.
|
 |
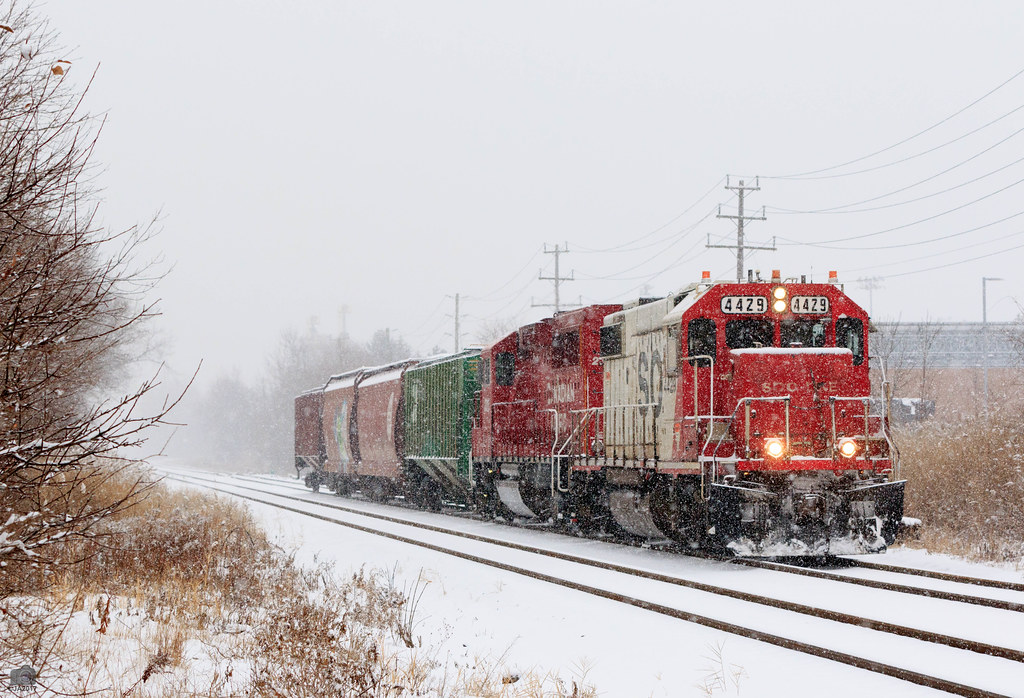
| Close up of some of my motive power, anxious to get to work! |
So what’s next:
- Finish track laying. I’ve still got to do the
spurs that lead to Korex.
- Adding the backdrop. This will involve removing the
tool rack. Not looking forward to that. I’m thinking of using hardboard painted
a light sky blue at a height of 24 inches.
- Fascia. I love the finished look the fascia
gives the layout and so I’m going to add a hardboard fascia soon.