New lights
One thing holding up progress in the layout room was the horrid lighting. It was so dark it was impossible to work. My brother in law, who is an electrician, helped me install these florescent lights and they've helped a lot.
 |
| The new lights have made it much brighter than this pic shows. It's a big improvement. |
 |
| Here's a shot looking the other way. The layout is a U-shape and the space is about 10x13. I plan to add a backdrop, which will cut the tool pegboard space in half, which is fine. Some of those tools are going to move under the layout. I can't wait to do the backdrop and fascia! |
Weathering
While waiting for my "electrician" to come over for a visit, I tried my hand at some weathering, something I've not done before. I followed the techniques in Pelle K. Soeborg's books: Done in a Day and his new one Detailing Projects for Freight Cars & Locomotives.
Here's the cover of both books:
 |
| If you're new to weathering, I'd recommend either of these books. |
So I weathered a handful of boxcars and two hoppers. I'm somewhat happy with the results. In general I think they are about 20% to 30% over-weathered. Despite this, they are a big improvement from what the models look like out of the box.
 |
This RailBox car turned out OK but the graffiti tag got lost in the weathering. I wanted it to look more like the prototype pic posted further down this page.
|
 |
| I followed the steps in Pelle Soeborg's books to get the weathering effects. His models still look better than mine, probably because I over-weathered my cars by about 30%. Photographing the cars on pink insulation doesn't help! |
 |
This GB&W box probably turned out the best but again, the tag got lost in the weathering.
|
 |
| This one is over-weathered. Real shame here is that it was a great tag with great colours. I've run out of decal paper but what I might to is just re-apply the tag over this one (or pull this one off first, then put the new tag on). |
 |
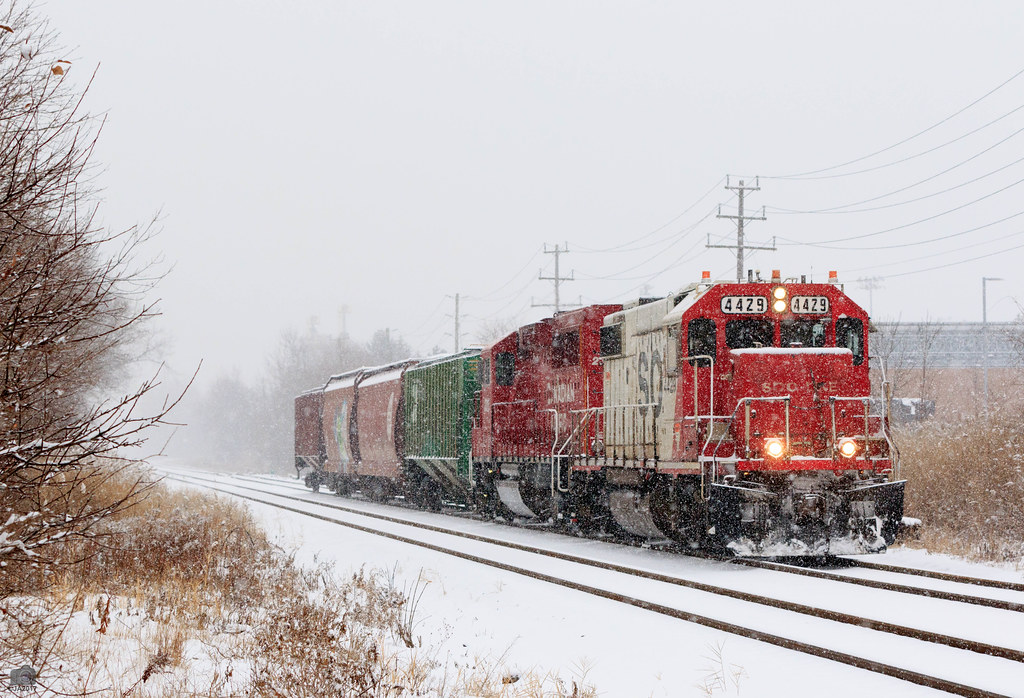
| Here's a proto pic of a car similar to the first one I posted. Next time I will be sure to avoid over-weathering, especially on the graffiti tag! |
Graffiti technique
Regarding my graffiti. I shot pics of real graffiti (or borrowed them from the Internet on free use sites) and printed them out using Testor's decal paper on an inkjet printer. The results were not bad. The Testor's decals do, however, have a tendency to fold up on themselves during the application when they're wet, more so than do commercial decals. That's why I suggest printing multiple images on every decal sheet, and at different sizes. Cram the sheet with decals! Might as well use up the space. Also don't forget to use that spray-on stuff that keeps the decal ink from running. I leaned that the hard way!
Where I goofed is in over-weathing the decals. You can't even see most of graffiti tags.
 |
| On this one, I didn't over-weather the graffiti. I make the tags using digital photos re-sized in PhotoShop, then printed out on Testor's decal paper. |
 |
| This Evergreen box didn't turn out too badly. I left off the rust spots here because I don't want all my rolling stock to look the same. |
So here's what I've learned.
- Dial back the amount of weathering by about a third when applying the wash and weathering powders.
- Either mask the graffiti decals during the wash or apply them after weathering the model (then lightly weather the decals). All that time spent shooting the tags, printing them out applying them, etc., was wasted here by over weathering. Too bad because some of those tags look great pre-weather.
- The Testor's decal paper works ok but only use the white paper, not the clear. I used a variety pack that came with six sheets each of white and clear paper. Only the tags on the white paper worked. It takes some time to closely crop the tags in Photoshop but once you do, cropping them with the scissors is easy.
- It is possible to make good quality graffiti decals using digital pictures and photo paper. Saves a lot of money (because you're not buying commercial decals). Plus you can't get more realistic than using a tag that's rolling around on a real railroad car somewhere!